Smushi Come Home: Walkthrough and Guide
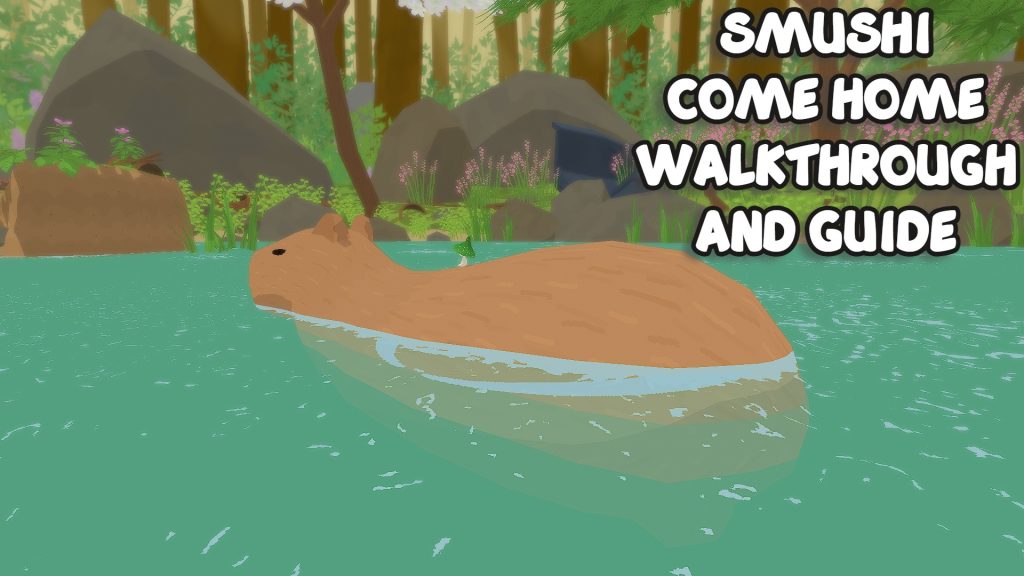
Smushi Come Home is a relaxing 3D platformer where you play as a tiny mushroom who is lost in the forest and trying to find its way home. The game is set in a charming and colorful world full of different environments to explore. Along the way, you’ll meet all sorts of quirky and adorable creatures, including cute Capybaras, who can help you on your journey.
This is a relatively short game, but it has a lot of tasks and mini-games to keep you busy for hours. There are plenty of secrets to find, and the game encourages you to explore every nook and cranny, but at your own pace. The controls are simple and easy to learn, and the gameplay is challenging enough to keep you engaged without being too frustrating. If you have just started playing Smushi Come Home, then you should bookmark this beginner-level walkthrough and guide.
All Maps
There are three main areas in Smushi Come Home: Garden of Spring, Forest of Fall, and Lake of Bloom. Maps of all these three areas can be found in and around the entryway of those areas, so it won’t be tough to get them.
A map of an area is revealed as you explore. Press the tab key to view the map of a particular area. Your first objective is to explore all spots in that area to get a fully revealed map. Whenever you reach a new spot, its name will flash on the screen. Once you have explored everything, you can view the map in its entirety. Always pay attention to the “Legend” on the right side of the map. It will provide locations of important NPCs, quests, and challenges to help you proceed in the game.
We have explored all three areas. Check out their maps below:
1. Garden of Spring

1. You will get the second blueberry from the crystal caverns, a cave between Anemone Woords and Ancient Passage. The first blueberry location is marked on the map (see legend). Pay Green Crystals to get it.
2. Go to the Purple creature to get hints for acquiring augmenters in this area.
3. The secret door can only be opened after you have completed the game. Get the key from the Lake of Bloom by solving the simple piano puzzle.
2. Forest of Fall

3. Lake of Bloom

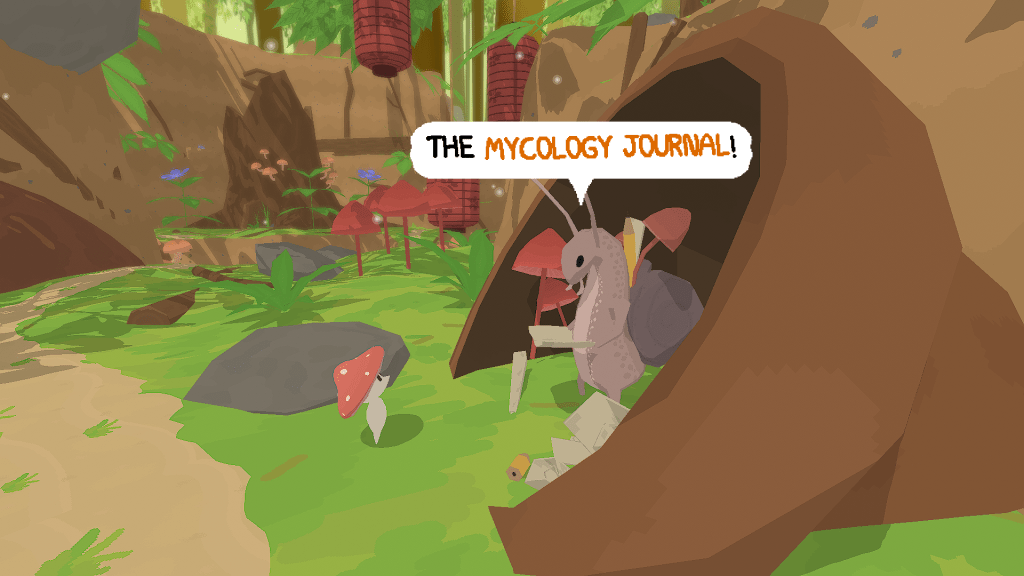
Get the Mycology Journal
The Mycology journal in Smushi Some Home will record new mushroom species when you stumble upon them. You will need to complete a simple quest to get the journal.
As you begin your adventure and enter the first area, obtain that area’s map from the small pond, as shown in the screenshot below. The map is right next to the entryway to the first area – Garden of Spring.

As soon as you pick the map, press the tab key to open it. With the help of the map, head straight to Mycena Entry, where you will meet the talking snail, who, incidentally, is a mycologist. Mycologists study fungi, such as molds and mushrooms. The talking snail is the second character Smushi meets in the Garden of Spring.
You can find the mycologist’s location on the map below.

Press E to begin a conversation with him. He laments that he can’t record new mushroom species since he does not have a new “writing tool.” His writing tool has withered away. Smushi promises to bring a new tool for him.
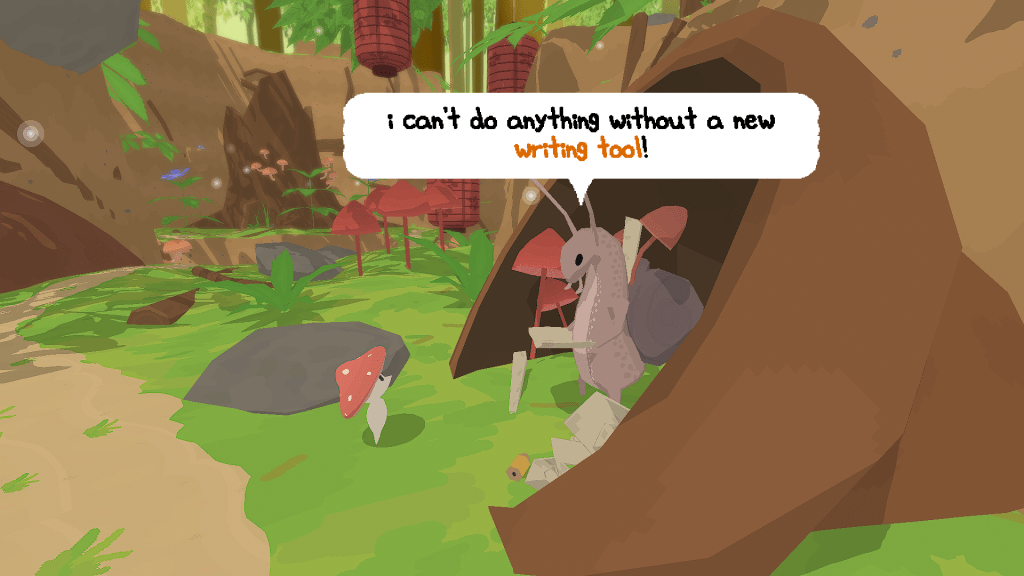
The writing tool is, in fact, a pencil. There are two locations where you will find them. Let’s begin with the first location:
Open the map by pressing the tab key and head straight to this location (It’s behind the yellow flower shrine):

You will find a big white flower.
Jump off the white flower to catapult Smushi high up in the area until you find a ledge just above the white flower, as seen in the screenshot below:
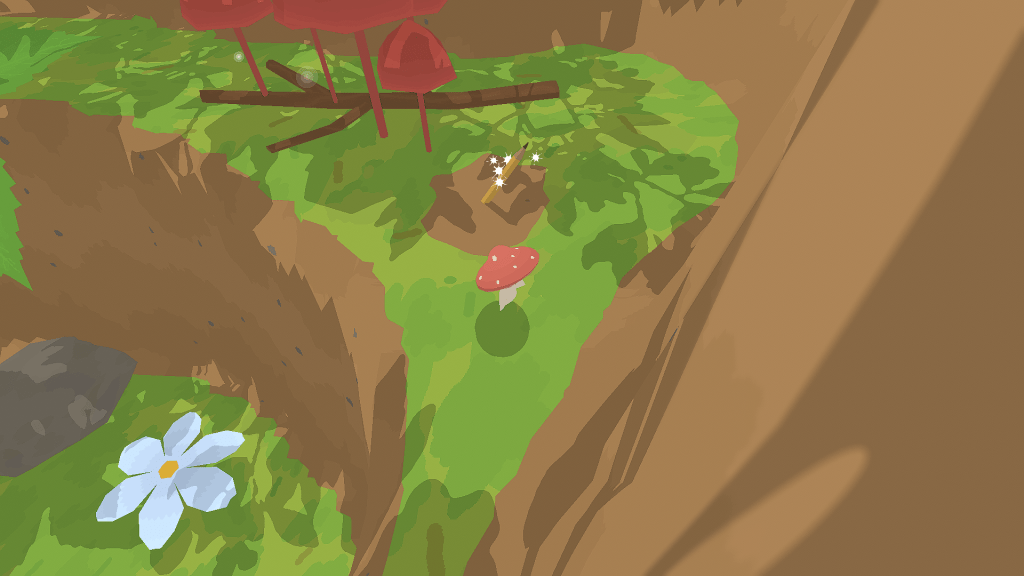
Move closer to the writing tool and press E to take it. You can view the final location of the pencil on the map below:
For the second writing tool, move to this location as shown on the map:
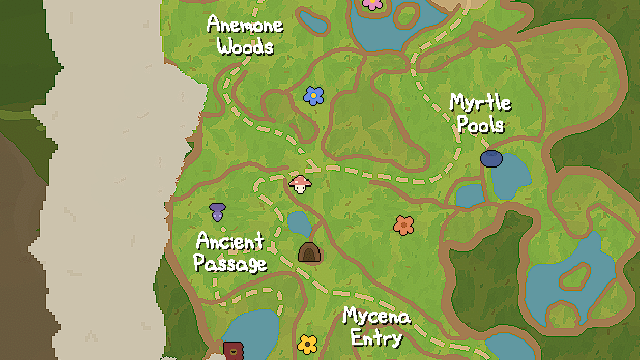
It’s near Ancient Passage, close to the signboard:
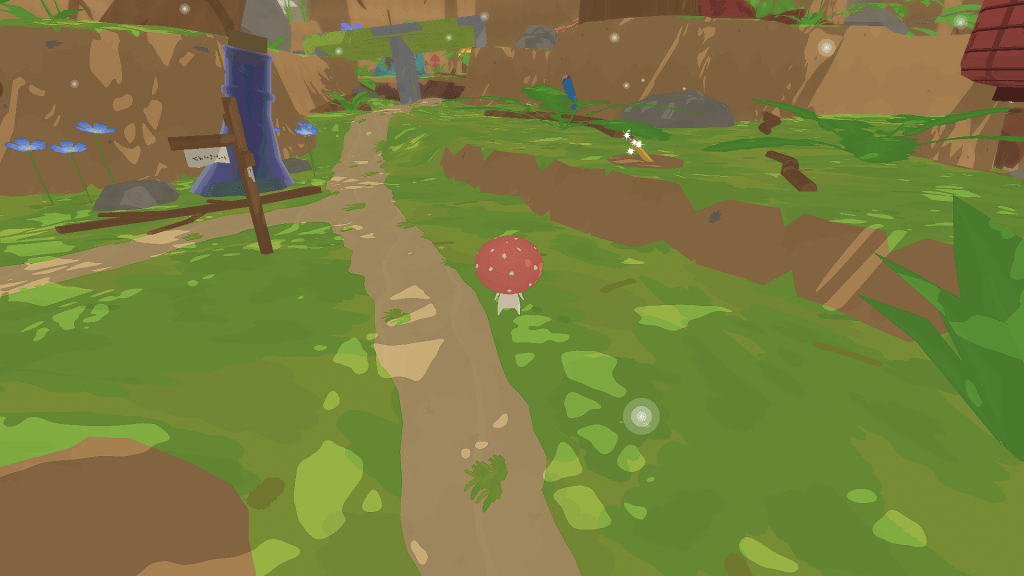
As soon as you find the tool of writing, go back to the mycologist, press E to talk, and Smushi will give the pencil to him. In return, the mycologist will grant the “Mycology Journal.”
Each time you move near a new mushroom, your journal automatically records information about it. To view the new entry in your journal, press Tab and then press the left-shift key. Use the WASD keys or arrow keys to find new entries. Once you have selected a new entry, press Enter to find more information about your new discovery.
You can continue your conversation with the mycologist to know more about him.
How to restore all flower shrines
Finding and restoring all four flower shrines will be one of the first side quests in Smushi Come Home. While the quest may not be connected to Smushi’s main quest, you will receive a spore of energy, a buff that increases your character’s speed when your press and hold the left shift while moving, and two augmenters, or skins. More on augmenters later.
When you enter the first area – the Garden of Spring, you will find the flower lady near Mycena Entry. I have marked this on the map below:

The flower lady is the first character you will interact with. She will be near the green flower shrine, which is the only restored shrine. She is sad that the rest of the flower shrines aren’t restored as they bring good luck to the forest.

To restore a shrine, you will need to place the right flower in the center of it. There are four shrines marked as yellow, orange, blue, and pink flowers on the map.
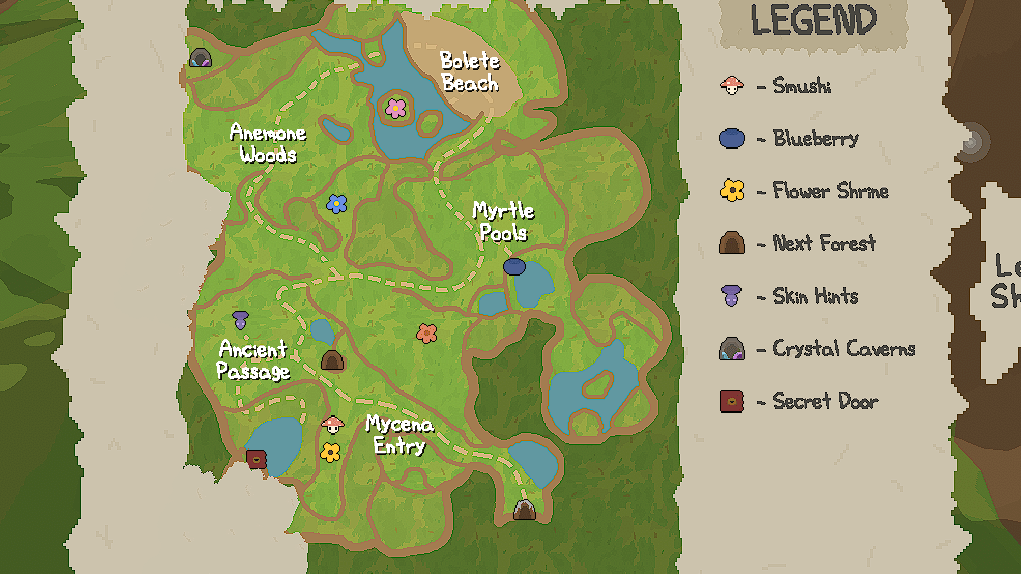
Your objective is to place the correct matching color flower in each of the four shrines. This can be explained with the following example:
For the yellow flower shrine, find the yellow flower and place it in the middle of the shrine to restore it. Do the same for the blue, pink, and orange flower shrines.
On most occasions, flowers will be found near the shrines. However, you will have to solve a simple puzzle to restore the pink flower shrine. Let’s begin with restoring all four shrines, starting with the yellow, orange, blue, and finally pink flower shrine:
Before restoring shrines, make sure you have the Blade of Power. You will need this tiny sword to get rid of vines. Some flowers will be trapped behind vines, and you will have to cut the vines that block access to them.
Go to the Knight and talk to him. Pay 30 green crystals to buy the blade of power from him.
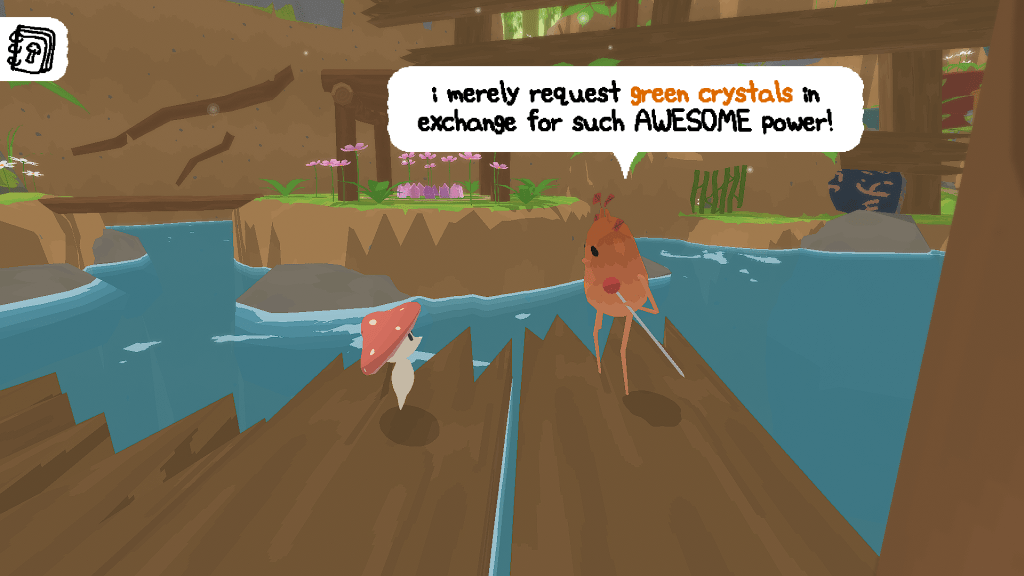
Green crystals are scattered all over the Garden of Spring area, so it won’t be difficult to collect 30 of them. I have marked the location of the knight on the map below. He can be found near the pink flower shrine in Bolete Beach.
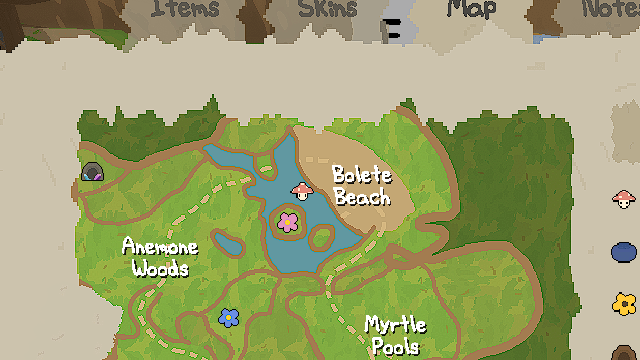
After acquiring the blade of power, begin your shrine-restoring quest:
1. Yellow flower: The first flower is easy to find. Check the screenshot below to know the exact location of the flower. It’s in Mycena Entry.

Move close to the flower and press “E” to collect it.

Now move to the center of the yellow flower shrine and place it.

Once you do this, a green spore will appear next to the shrine. Press E to collect it. It’s the first “Spore of Energy”,
2. Orange Flower: This one’s a bit farther away from the orange flower shrine. You will have to climb up to a ledge to find the orange flower in a tiny cave, trapped behind vines. Use the blade of power to cut the vines and take the flower.

I have marked the location of the orange flower on the map.

Tip: Take the help of the large white flowers to bounce off them if you want to reach the orange flower.
When you acquire it, place the flower in the center of the shrine and a purple mushroom will appear near it. It’s the Purple Augmenter! Press E to obtain it.

3. Blue Flower: Located in the Anemone Woods, the blue flower can be found inside a hollow block of stone. Here’s the exact location of the blue flower on the map:
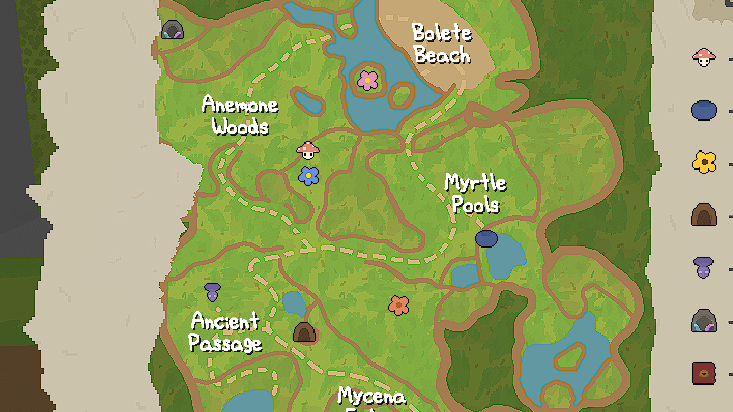
You can find it near the blue flower shrine, but you will have to climb up a bit to locate this flower inside a hollow block of stone:

Pick the blue flower, place it in the center of the shrine and you will get another spore of energy, But this time, your speed will increase as the spore of energy will let you perform a brief super sprint if you press and hold the left shift while moving.
4. Pink Flower: You will have to solve a simple puzzle to obtain the pink flower. Head straight to Bolete Beach, where the pink flower shrine is located.
Locate the small statue on an islet near the pink flower shrine. Both the pink flower shrine and the islet is connected with a small plank, which acts as a bridge. Move closer to the statue. Notice that the palms are missing. Find the palms and fix them to the statue.
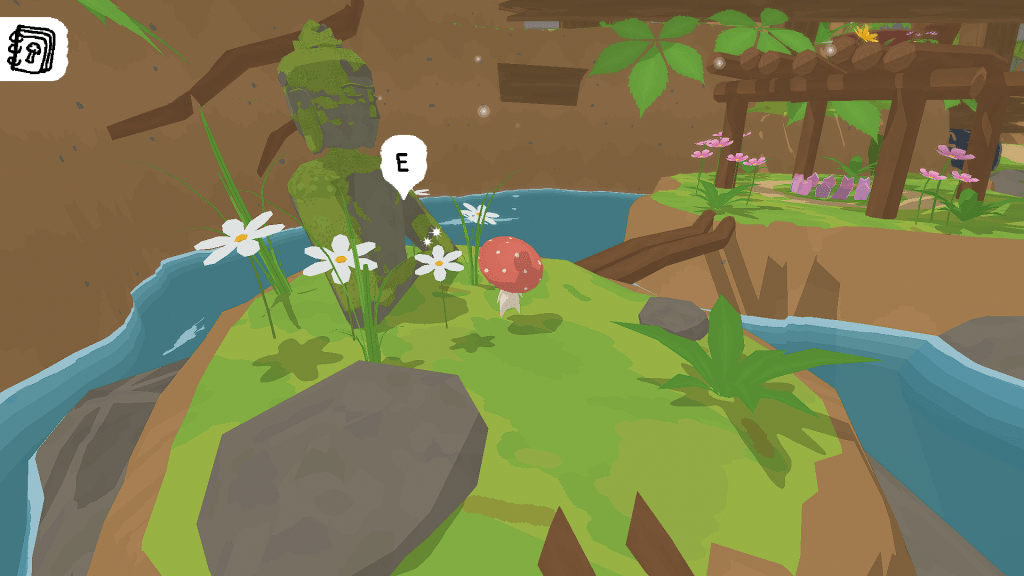
The first palm can be found in this area, as shown in the map screenshot below.

The second palm can be found in this area as marked on the map:

It’s very close to the shrine. The palm is hidden behind vines. Use the blade of power to cut through the vines and take the palm to the statue. Put the first palm to the statue.
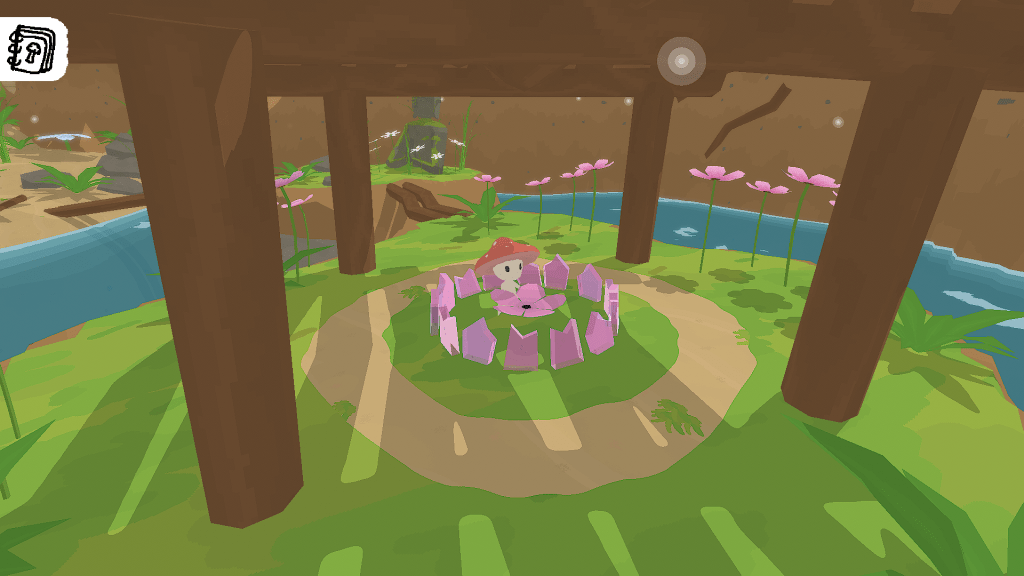
Once you fix the statue by putting both palms in the right place, a pink flower will appear near it. Take the pink flower and put it in the center of the shrine. Congratulations, you have restored all flower shrines in Smushi Come Home.
Go back to the flower lady, near the green flower shrine. Talk to her. As soon as she finds out that you have restored all flower shrines, she thanks you and gives you a small gift – A flower augmenter!

Augmenters: How to find them
An augmenter in Smushi Come Home is a cosmetic item that changes the appearance of Smushi. There are 10 augmenters in the game, each with its own unique design. Augmenters can be turned into skin using purple crystals. Once converted into skins, you can equip them with Smushi to change the color and appearance of his “Pileus”, aka mushroom cap.

Augmenters are purely cosmetic and do not have any effect on the gameplay. However, they can be a fun way to customize Smushi’s appearance and make him look unique. Players who are looking to add a touch of personality to their character can try collecting them.
They can be found in various locations throughout the game, and some can only be obtained by completing certain challenges. You can get hints of their location by talking to the purple being on each map. Check out our maps section of this guide to know the location of the purple creature. Pay attention to the “Legend” to know his location(Skin Hints).
Once an augmenter is found, it can be equipped in Smushi’s inventory. Before equipping one, you will have to use 12 purple crystals to turn it into the skin and only then you can equip it.
Check out our guide below to know where to find them and the tasks/challenges to complete in order to obtain them:
Garden of Spring(1st Map)
1. Strawberry Augmenter
You can get this from Anemone Woods. Find the creature with the catapult. He/she will be located high up, on a tall wooden structure, located opposite the group of large-size flower pots. The little creature with his incomplete contraption will ask for a red elastic band. You will find the elastic band tucked somewhere between the large size flower pots. Once you find it, give it to the yellow creature and start the strawberry shooting mini-game. Shoot down all strawberries to get this augmenter as a prize.

2. Purple and Flower Augmenter
You can find both of these while restoring flower shrines on the first map. Check our flower shrine guide in this article to know how to get them. Obtain purple augmenter once you have restored the orange flower shrine. The flower augmenter can be obtained as soon as you restore all shrines and go back to the flower lady in Mycena Entry. She will give it to you as a reward for restoring all of them.
3. SHO Augmenter
It’s a secret augmenter and can be obtained only after finishing the game. Once you complete Smushi Come Home, you will get the “Magic Conch”. Use it to fast-travel between all three maps. Read our guide to opening the secret door in Smushi Come Home if you are in search of the SHO augmenter.

Forest of Fall (2nd Map)
1. Honey Augmenter
Move to the Nectar Farm near Waxcap Falls (Check the Forest of Fall map in this guide). Complete the first honey collection challenge. Talk to the nectar farm owner and he will throw another challenge at you – Gather 20 nectar drops in 40 seconds. Complete this challenge to obtain the honey augmenter.
2. Verdant Augmenter: Move to the Obstacle Hut in Maple Sanctuary, as shown in the map below.
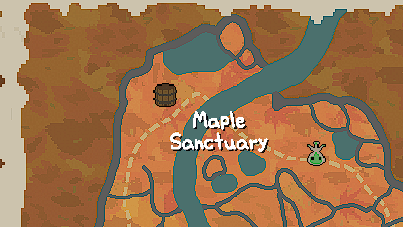
Finish the first obstacle challenge. After completing it, talk to the club owner again. Accept her second obstacle course challenge. Complete it to get the Verdant Augmenter.

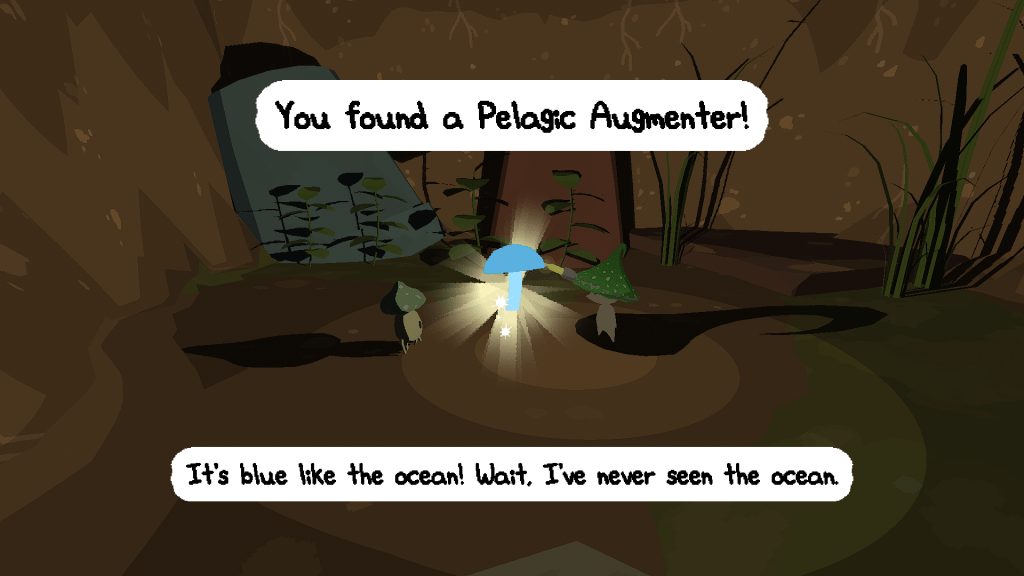
3. Pelagic Augmenter
Move to the Cryptic Caverns area on the second map. Talk to the blacksmith, and find the bulb on the platforms, above the blacksmith. Give the bulb to him he will make a small headlamp for you to explore the nearby cave. Rescue both lovers inside the cave. For rescuing both lovers, you will have to find two boulders with dynamites near them, in the cave and use the flint and steel on the dynamites to blow up the boulders.
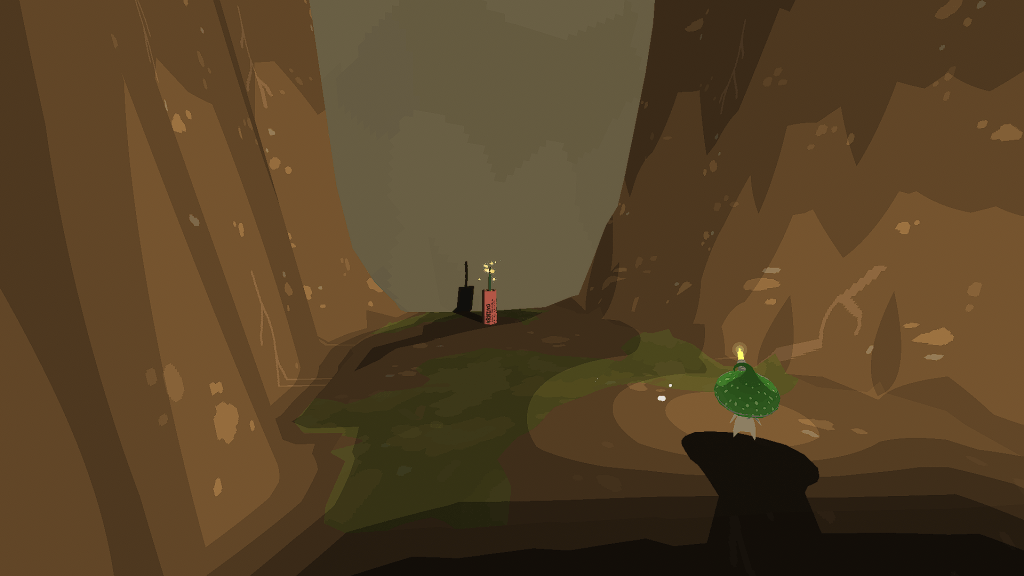
Make sure you solve this simple puzzle to proceed deep into the caverns. Find the note with the combination code 1331 written on a piece of paper.

Next, find a machine with three buttons. You will find them near the jammed metal elevator. Jump on them in this order – button 1, button 3, button 3, button 1, and all red bulbs will glow green.

Hop into the moving elevator and glide to the lower crevice to rescue the first lover. The second lover is on the upper crevice.
After rescuing them, you will receive the pelagic augmenter:
Lake of Bloom (3rd Map)
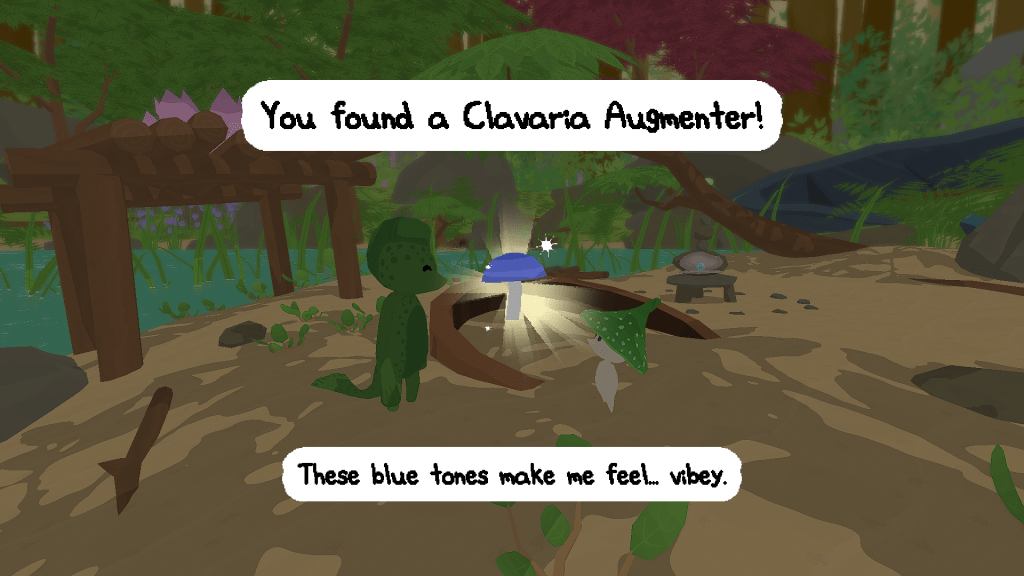
1. Clavaria Augmenter
Ride on Capybara’s back to the Divers Locus. This is where you will obtain the “Essence of Water”, a bluish pearl that needs to be placed on an empty opened clam to be able to swim underwater. Complete the Divers’ challenge – Just collect three gems scattered underwater within the 30-second time limit. The timer resets every time you put a gem to the surface. You will get extra seconds if you put a gem within the 30-second mark.
Press the left shift key to dive underwater, use the WASD keys to move, and press and hold the space button to swim up/come back to the surface. After putting them back on the island, the diver will gift you the Clavaria Augmenter.
Tips to Complete the Divers Challenge
If you fail to collect for the first time and reattempt, the position of the gems changes. If you fail for the second time and try again, gems underwater return back to their original position. In your first attempt, all you need to do is explore underwater to know the exact location of all three gems. Note down their location. Do not collect them. Once time’s up, take the challenge again, but do not collect the gems as their position underwater has changed. You can just dive in and let the timer reach 0. Now attempt the challenge for the third time. The gems will be back in their original spots underwater. Since you have already noted down their location, it will be easy for you to pick them up and drop them on the island before time’s up.
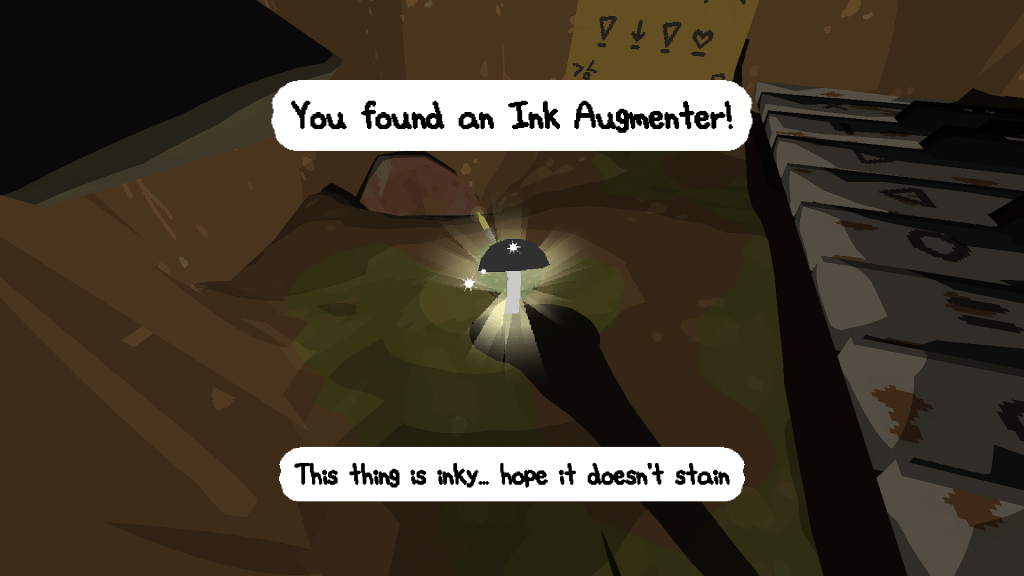
2. Ink Augmenter:
Hop onto the Capybara and sail to Hidden Lotus. Walk near the empty clamshell and press “E”, Smushi will put the essence of water into the empty clam to be able to swim underwater. Dive underwater, find three pink pearls, and put them in empty clams underwater.
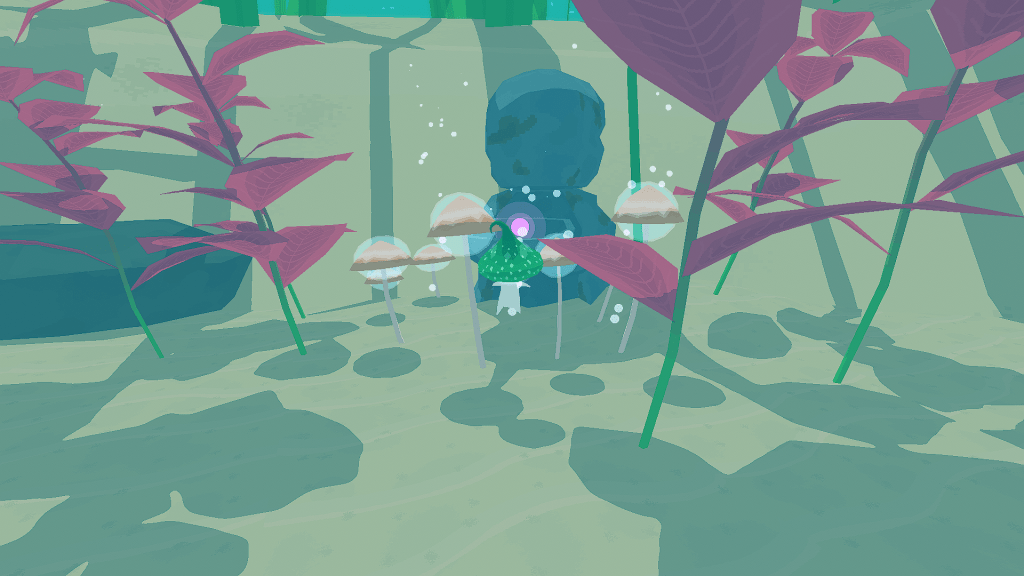
These clams will be held by ancient statues made of rocks. Once you put the pink pearls into the empty clams, an underwater cave appears out of nowhere. Enter the cave.
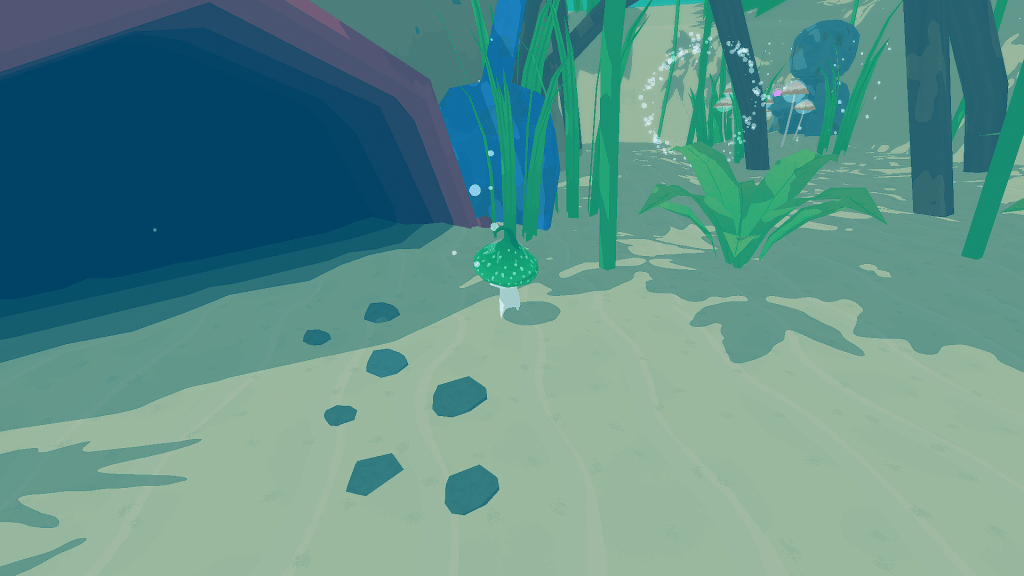
Inside the cave, hop into the large broken metal pipe to find a tunnel. Inside the tunnel, look for a piano key with an arrow. It hints at the location of the piano puzzle. Follow the arrow’s direction and you will come out of the end of the metal pipe.

You will see a piano with various symbols on its keys. A piece of paper on its left shows a missing puzzle hint. Your objective is to jump on the right white and black piano keys to make all four panels on the piano glow green. There’s a hint on the piece of paper to know the right symbol combination, but the symbols are missing.

Find all symbols – They will be located in and around the piano. You just have to search for them and it’s pretty easy to find them. One of the missing pieces is high up above the piano.

After putting back all the missing symbol pieces on the piece of paper, note down the symbol pattern and jump on only those black/white keys in the correct order as shown on the paper. The Ink augmenter will appear beside the piano. Move near it, press “E” to take it:
